How to Make a WordPress AJAX Call
Using AJAX within WordPress can be a little hard to understand. Heck, using AJAX in general can be a little hard to understand.
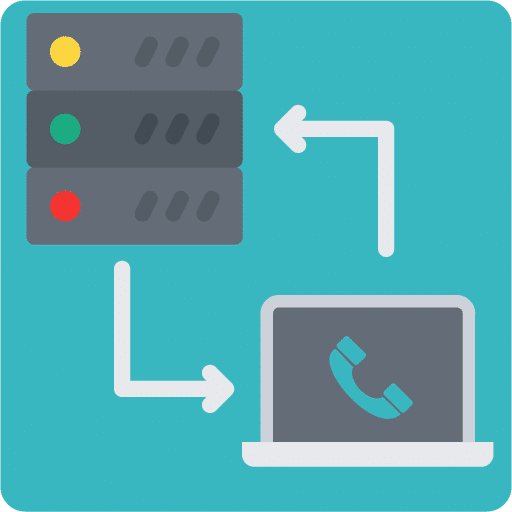
“Okay, so Ajax is going to call me back? Is he going to call my cell phone or the office line?”
All kidding aside, I did actually struggle a bit with learning how AJAX works within the WordPress framework.
Then I read Devin Price’s post titled Simple Ajax Example and all the lights started to flicker on. Eureka!!
By the end of this tutorial you will be making WordPress AJAX calls like a champion.
Let’s get started…

What Is AJAX?
AJAX is short for “Asynchronous Javascript and XML”.
Okay, what the heck does that mean?
What it means is that AJAX is not actually a programming language.
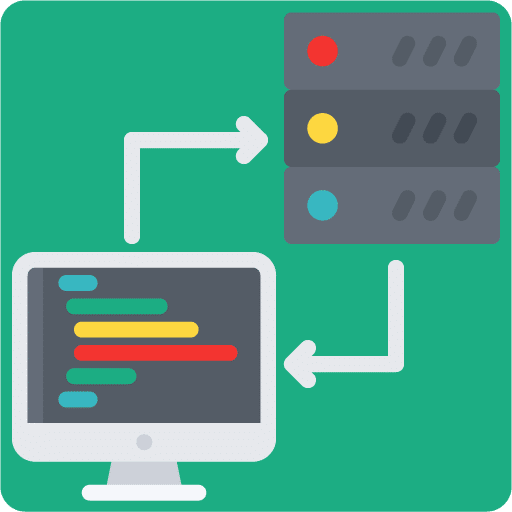
AJAX is a framework or concept that you can use to ask the backend server to do something from the frontend of your website, without reloading the page.
Awesome right!

Sending and receiving data from the backend database or server is a super useful tool and AJAX does this without irritating the user by reloading the page.
This is called a Callback Function.
A good way to think about it is that the user makes a call and the server calls them back.
There are countless sites on the web using AJAX but below are some examples you are sure to have come across.

This is probably something you use every day.
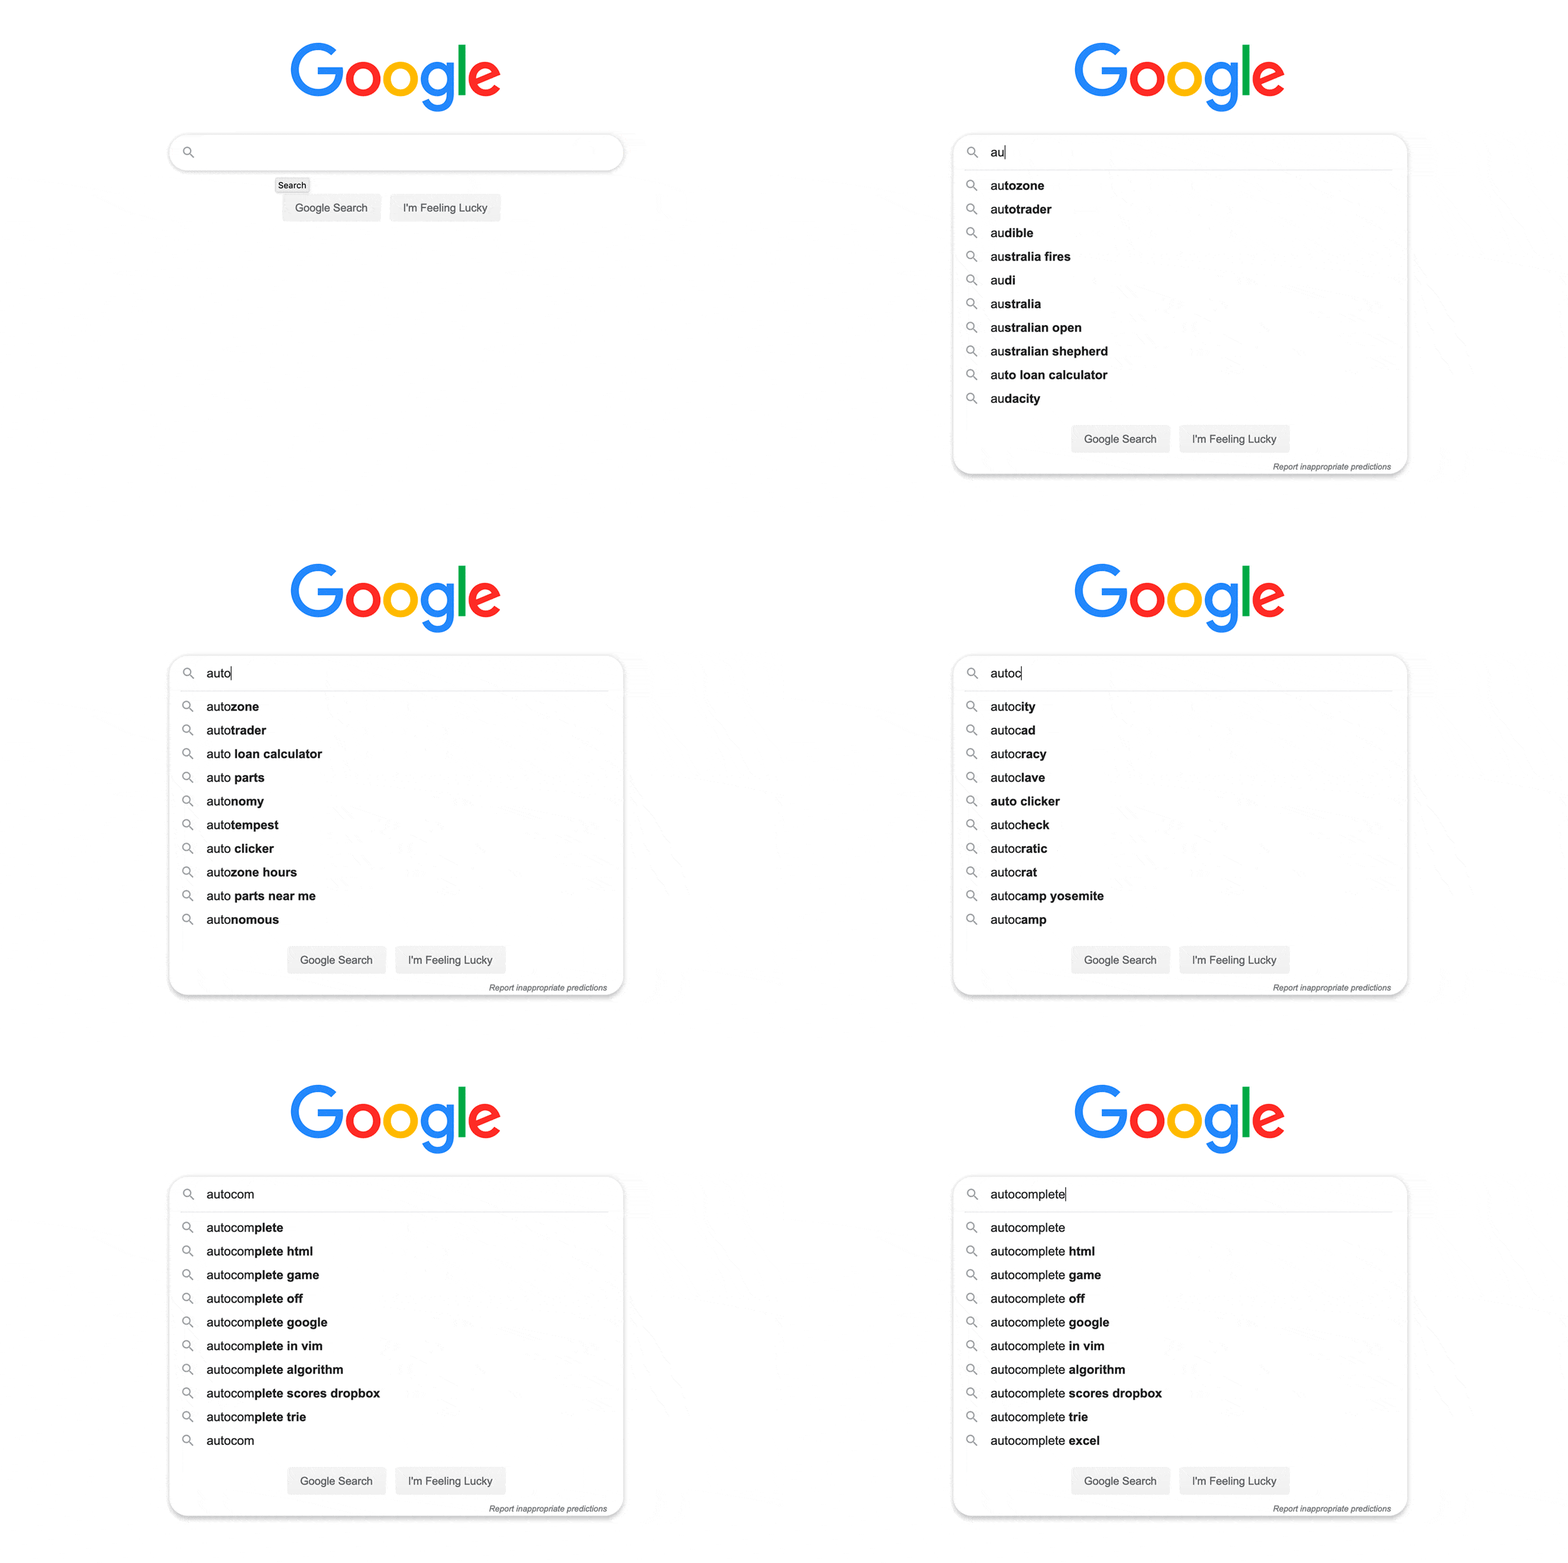
Google Suggest or autocomplete is a Google search engine function that provides suggestions to users as they are typing into the search box.
You may or may not have known this but that’s AJAX sending data to and from the server in order to read your mind and automatically complete your sentence.
Okay, that’s just downright fancy pants!

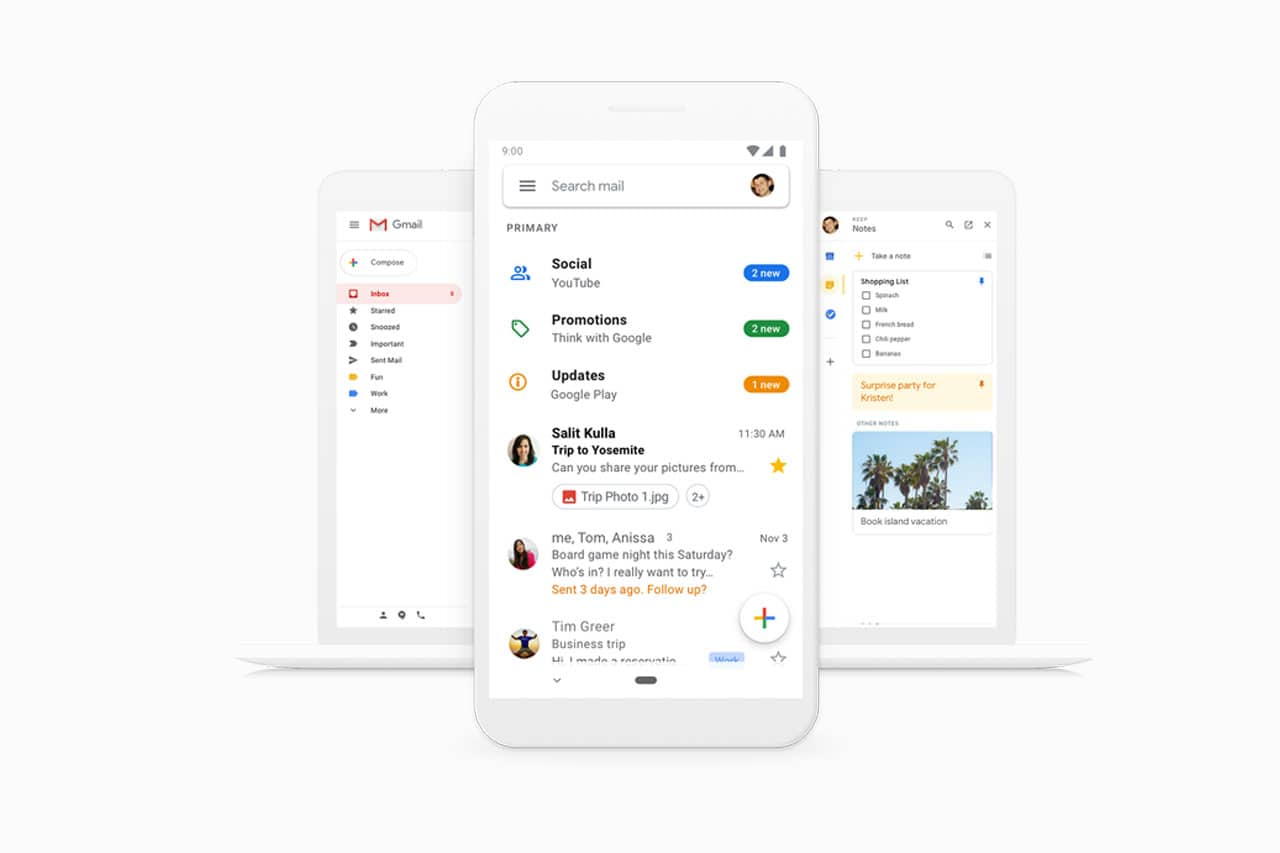
Ever noticed that when you click around in Gmail the page doesn’t reload?
That’s AJAX!
Google adopted AJAX for Gmail in 2004 and it’s one of the reasons why the email client took the world by storm.
It’s a feature that makes the email client super seamless and slick!
Okay, now that we have a basic understanding of what AJAX is let’s dive into learning how to make an AJAX call with WordPress!
Start Learning AJAX
Making a WordPress AJAX call is a bit different then how you do it with just PHP and Javascript.
AJAX is actually built into the WordPress framework. This has a lot of advantages, but you have to use it the way it’s described in the codex.
https://codex.wordpress.org/AJAX_in_Plugins
As much as I love the WordPress codex I sometimes find that the explanations in it are written with the assumption that you already understand everything about WordPress.
Well, I say “boooooo” to hard to understand code examples.

I have broken this section down into 3 steps that are super easy to follow.
Let’s get started on making your first WordPress AJAX call…
Step 1:
Use the button below to download the full PDF Guide & Example Files:
Or you can use the two code sections below.
Javascript (The Call)
// This would normally be enqueued as a file, but for the sake of ease we will just print to the footer
function add_this_script_footer(){ ?>

<script>
jQuery(document).ready(function($) {

    // This is the variable we are passing via AJAX
    var fruit = 'Banana';

    // This does the ajax request (The Call).
    $.ajax({
        url: ajaxurl, // Since WP 2.8 ajaxurl is always defined and points to admin-ajax.php
        data: {
            'action':'example_ajax_request', // This is our PHP function below
            'fruit' : fruit // This is the variable we are sending via AJAX
        },
        success:function(data) {
    // This outputs the result of the ajax request (The Callback)
            window.alert(data);
        },
        error: function(errorThrown){
            window.alert(errorThrown);
        }
    });

});
</script>
<?php }

add_action('in_admin_footer', 'add_this_script_footer');
PHP (The Callback)
function example_ajax_request() {

    // The $_REQUEST contains all the data sent via AJAX from the Javascript call
    if ( isset($_REQUEST) ) {

        $fruit = $_REQUEST['fruit'];

        // This bit is going to process our fruit variable into an Apple
        if ( $fruit == 'Banana' ) {
            $fruit = 'Apple';
        }

        // Now let's return the result to the Javascript function (The Callback)
        echo $fruit;
    }

    // Always die in functions echoing AJAX content
   die();
}

// This bit is a special action hook that works with the WordPress AJAX functionality.
add_action( 'wp_ajax_example_ajax_request', 'example_ajax_request' );
Step 2:
Copy and paste the downloaded file contents or the code sections above to your WordPress theme functions.php file.
Step 3:
Login to WordPress and you will see a popup that says “Apple”.
That’s it!! You just made your first WordPress AJAX call.
The Breakdown
Okay, so that was really cool watching the little popup say “Apple”, but what the heck just happened there?
We know that the Javascript fruit variable was supposed equal “Banana”, right?
At some point the code did a fancy juke move and changed the fruit variable from “Banana” to “Apple”.
Let’s break down what happened in the code step-by-step.

- When you logged into the admin area WordPress loaded the Javascript in the page footer and the script executed.
- The Javascript then created a variable named fruit which equals “Banana”.
- It then sent the fruit variable to WordPress’s ajaxurl (admin-ajax.php) and told it to run the PHP function “example_ajax_request” above that you created in your functions.php.
- Then the fruit variable was passed to the “example_ajax_request” PHP function and processed, the result being “Apple”.
- PHP then made a callback to Javascript with the result.
- Finally, Javascript received the callback and displayed the result in a window alert.
I made a bunch of comments in the code above and in the example file as well. This should help further with understanding the process.
WP AJAX Hook
Something I wanted to point out is the action hook for the PHP function in the code we just used.
WordPress uses something called hooks that allow you to fire off some code at a specific time during the page load.
When using AJAX within the WordPress framework there is a special hook.
The “wp_ajax” hook for the admin area and the “wp_ajax_nopriv” for the frontend of your website.

add_action( 'wp_ajax_example_ajax_request', 'example_ajax_request' );
You will notice that the name of the function “example_ajax_request” is included in the hook. This is a good practice to remind yourself which “wp_ajax_” hook goes with which function.
The hook has to have something after wp_ajax_ in order to make it unique, so it’s a good naming convention to just add the function name you’re calling.
The above example will work in the admin area only. If you would like to use AJAX in the front-end you will have to add an extra action hook to your PHP code.
add_action( 'wp_ajax_nopriv_example_ajax_request', 'example_ajax_request' );
You will also have to make sure the Javascript loads on the front end and that the ajaxurl is defined.
Don’t worry, I will show you exactly how to do this in the next section.
WordPress AJAX Frontend
Now that we understand the concept of using AJAX with WordPress let’s try our hand at creating an AJAX Callback Function on the frontend of WordPress.
I know that this all might seem a bit overwhelming if you haven’t worked with AJAX before but I promise this will be easy.
There are only a couple of extra steps that I need to show you.
Let’s dive in!

For this section I have broken it down into 4 steps that are super easy to follow.
**Note if you are using this on a live site sending secure data back to the user, you will want to use nonces to make the call. Jump to the next section if this is the case.
Step 1:
Use the button below to download the full PDF Guide & Example Files:
Or you can use the two code sections below.
<?php
/**
* WP AJAX Call Frontend
*/

//Load jQuery
wp_enqueue_script('jquery');

//Define AJAX URL
function myplugin_ajaxurl() {

   echo '<script type="text/javascript">
           var ajaxurl = "' . admin_url('admin-ajax.php') . '";
         </script>';
}
add_action('wp_head', 'myplugin_ajaxurl');

//The Javascript
function add_this_script_footer(){ ?>
<script>
jQuery(document).ready(function($) {
    // This is the variable we are passing via AJAX
    var fruit = 'Banana';
    // This does the ajax request (The Call).

    $( ".banana" ).click(function() {
      $.ajax({
          url: ajaxurl, // Since WP 2.8 ajaxurl is always defined and points to admin-ajax.php
          data: {
              'action':'example_ajax_request', // This is our PHP function below
              'fruit' : fruit // This is the variable we are sending via AJAX
          },
          success:function(data) {
      // This outputs the result of the ajax request (The Callback)
              $(".banana").text(data);
          },
          error: function(errorThrown){
              window.alert(errorThrown);
          }
      });
    });
});
</script>
<?php }
add_action('wp_footer', 'add_this_script_footer');

//The PHP
function example_ajax_request() {
    // The $_REQUEST contains all the data sent via AJAX from the Javascript call
    if ( isset($_REQUEST) ) {
        $fruit = $_REQUEST['fruit'];
        // This bit is going to process our fruit variable into an Apple
        if ( $fruit == 'Banana' ) {
            $fruit = 'Apple';
        }
        // Now let's return the result to the Javascript function (The Callback)
        echo $fruit;
    }
    // Always die in functions echoing AJAX content
   die();
}
// This bit is a special action hook that works with the WordPress AJAX functionality.
add_action( 'wp_ajax_example_ajax_request', 'example_ajax_request' );
add_action( 'wp_ajax_nopriv_example_ajax_request', 'example_ajax_request' );
Step 2:
Copy and paste the downloaded file contents or the code sections above to the bottom of your WordPress theme functions.php file.
Step 3:
Create a page on your website and paste the link code below on the page:
<div><a class="banana">Banana</a></div>
Step 4:
Go to the page and click the link. Kablamo! Our Banana link turned into an Apple link. That’s some AJAX magic coming your way!There were a couple extra pieces of code we had to add in order to make an AJAX call on the frontend.
Let’s break that business down for you.
1. We have to make sure jQuery is being loaded so the code below takes care of that for us:
					//Load jQuery
wp_enqueue_script('jquery');
					//Define AJAX URL
function myplugin_ajaxurl() {

   echo '';
}
add_action('wp_head', 'myplugin_ajaxurl');
Many thanks to RT on WordPress StackExchange for the excellent code to define an ajaxurl.
3. The Javascript code below is basically the same as the code we used to make the AJAX call in the WordPress admin dashboard. The only changes are instead of making the call as soon we load the page we are going to make the AJAX call happen when we click a link. Below we are saying that when we click the link that has the CSS class banana, fire our AJAX call.
//The Javascript
function add_this_script_footer(){ ?>
<script>
jQuery(document).ready(function($) {
    // This is the variable we are passing via AJAX
    var fruit = 'Banana';
    // This does the ajax request (The Call).

    $( ".banana" ).click(function() {
      $.ajax({
          url: ajaxurl, // Since WP 2.8 ajaxurl is always defined and points to admin-ajax.php
          data: {
              'action':'example_ajax_request', // This is our PHP function below
              'fruit' : fruit // This is the variable we are sending via AJAX
          },
          success:function(data) {
      // This outputs the result of the ajax request (The Callback)
              $(".banana").text(data);
          },
          error: function(errorThrown){
              window.alert(errorThrown);
          }
      });
    });
});
</script>
<?php }
add_action('wp_footer', 'add_this_script_footer');
Also, you will notice the hook for this function is wp_footer instead of in_admin_footer.
4. The PHP code is also almost the same as our code that we used to make an AJAX call in the WordPress admin dashboard. The only change here is that we added the special WordPress action hook that allows a frontend user to access this code.
					//The PHP
function example_ajax_request() {
    // The $_REQUEST contains all the data sent via AJAX from the Javascript call
    if ( isset($_REQUEST) ) {
        $fruit = $_REQUEST['fruit'];
        // This bit is going to process our fruit variable into an Apple
        if ( $fruit == 'Banana' ) {
            $fruit = 'Apple';
        }
        // Now let's return the result to the Javascript function (The Callback)
        echo $fruit;
    }
    // Always die in functions echoing AJAX content
   die();
}
// This bit is a special action hook that works with the WordPress AJAX functionality.
add_action( 'wp_ajax_example_ajax_request', 'example_ajax_request' );
add_action( 'wp_ajax_nopriv_example_ajax_request', 'example_ajax_request' );
5. When you clicked on the link you added to your frontend page it sent the request to the PHP code in your functions.php via the Javascript and the code processed Banana and sent it back Apple.
When it hit the page the javascript used the $.text() jQuery function and changed the Banana link to Apple.
Good stuff!
WordPress AJAX Frontend with Nonces
Now that you understand how to make an AJAX call on the Frontend, let’s go deeper and learn how to do this securely with Nonces.
This is a bit more complicated and you will have to understand wp_enqueue_script and wp_localize_script functions, which is why I left it off of the first example.
Using a nonce is a MUST DO if you are on a live site and sending/receiving sensitive data.
Let’s dive in!

Step 1:
Use the button below to download the full PDF Guide & Example Files:
Or you can use the two code sections below.
Below is the PHP to go in your functions.php:
<?php
/**
* WP AJAX Call Frontend with Nonces
*/

//Enqueue script, define our AJAX URL, and localize script to create WP Nonce
function my_enqueue() {
	wp_enqueue_script('jquery'); // Ensure jQuery is loaded
	wp_enqueue_script( 'ajax-script', get_stylesheet_directory_uri() . '/js/ajax.js', array('jquery') ); // Load script properly by enqueueing
    wp_localize_script( 'ajax-script', 'my_ajax_object', array(
				'ajax_url' => admin_url( 'admin-ajax.php' ), // Define your AJAX URL
				'nonce' => wp_create_nonce('ajax-nonce') // Set your Nonce
	) );
}
add_action( 'wp_enqueue_scripts', 'my_enqueue' );

//The PHP
function example_ajax_request() {
	// Verify your Nonce is valid
	if ( ! wp_verify_nonce( $_POST['nonce'], 'ajax-nonce' ) ) {
		die ( 'Busted!'); // Die if invalid Nonce
	}

    // The $_REQUEST contains all the data sent via AJAX from the Javascript call
    if ( isset($_REQUEST) ) {
        $fruit = $_REQUEST['fruit'];
        // This bit is going to process our fruit variable into an Apple
        if ( $fruit == 'Banana' ) {
            $fruit = 'Apple';
        }
        // Now let's return the result to the Javascript function (The Callback)
        echo $fruit;
    }
    // Always die in functions echoing AJAX content
   die();
}
// This bit is a special action hook that works with the WordPress AJAX functionality.
add_action( 'wp_ajax_example_ajax_request', 'example_ajax_request' );
add_action( 'wp_ajax_nopriv_example_ajax_request', 'example_ajax_request' );
Below is the Javascript to go in a file create in your child theme /js/ajax.js:
//The Javascript
    jQuery(document).ready(function($) {
        // This is the variable we are passing via AJAX
        var fruit = 'Banana';
        // This does the ajax request (The Call).

        $( ".banana" ).click(function() {
          $.ajax({
              url: my_ajax_object.ajax_url, // Our AJAX URL
              type: 'post',
              data: {
                  action:'example_ajax_request', // This is our PHP function
                  nonce: my_ajax_object.nonce, // This is our nonce
                  fruit: fruit // This is the variable we are sending via AJAX
              },
              success:function(data) {
          // This outputs the result of the ajax request (The Callback)
                  $(".banana").text(data);
              },
              error: function(errorThrown){
                  window.alert(errorThrown);
              }
          });
        });
    });
Step 2:
Copy and paste the PHP code contents downloaded or the code section above to the bottom of your WordPress theme functions.php file.
Step 3:
Step 4:
Create a page on your website and paste the link code below on the page:
<div><a class="banana">Banana</a></div>
Step 5:
Go to the page and click the link.
BOOM! You just made a secure AJAX call using a nonce to authenticate the request.
Awesomeness!
Okay, I know this one is way more complicated, but let’s break down the differences.
First, let’s take a look at our PHP code added to the functions.php:
1. We are enqueueing the script in order to localize it within WordPress. This is necessary in order to create a nonce and pass it via our AJAX call. We are also defining the AJAX url with the enqueue process and localize process. We then add create the nonce with wp_create_nonce so we can use it in our AJAX call.
					function my_enqueue() {
	wp_enqueue_script('jquery'); // Ensure jQuery is loaded
	wp_enqueue_script( 'ajax-script', get_stylesheet_directory_uri() . '/js/ajax.js', array('jquery') ); // Load script properly by enqueueing
    wp_localize_script( 'ajax-script', 'my_ajax_object', array(
				'ajax_url' => admin_url( 'admin-ajax.php' ), // Define your AJAX URL
				'nonce' => wp_create_nonce('ajax-nonce') // Set your Nonce
	) );
}
2. Unlike in the our easy version we have to create a separate JS file and add it to a folder in our child theme.
// Verify your Nonce is valid
	if ( ! wp_verify_nonce( $_POST['nonce'], 'ajax-nonce' ) ) {
		die ( 'Busted!'); // Die if invalid Nonce
	}
3. Within our example_ajax_request with added a wp_verify_nonce. If it doesn’t verify the function it will die and send back “Busted!” to the frontend. You can also just have this die() without doing anything.
Now let’s check out our Javascript:
					$.ajax({
              url: my_ajax_object.ajax_url, // Our AJAX URL
              type: 'post',
              data: {
                  action:'example_ajax_request', // This is our PHP function
                  nonce: my_ajax_object.nonce, // This is our nonce
                  fruit: fruit // This is the variable we are sending via AJAX
              },
5. The Javascript is just changed within the AJAX callback function. The URL is different. We are now attaching our my_ajax_object in front of our ajax_url. We also need to define the request type as a “post”. The last thing is we are now sending our nonce data to WP to verify.
You can verify that your nonce is working by commenting out the nonce in the call. You should get back “Busted!” instead of “Apple”.
Good stuff!
Please Leave A Comment Below:
I learned a lot about making a WordPress AJAX call from making this tutorial, and I hope you learned a lot as well!
Now I’d love to hear from you.
What was the #1 skill you learned from this tutorial?
Did you have a question about something that you read?
Either way, go ahead and leave a comment below right now.

